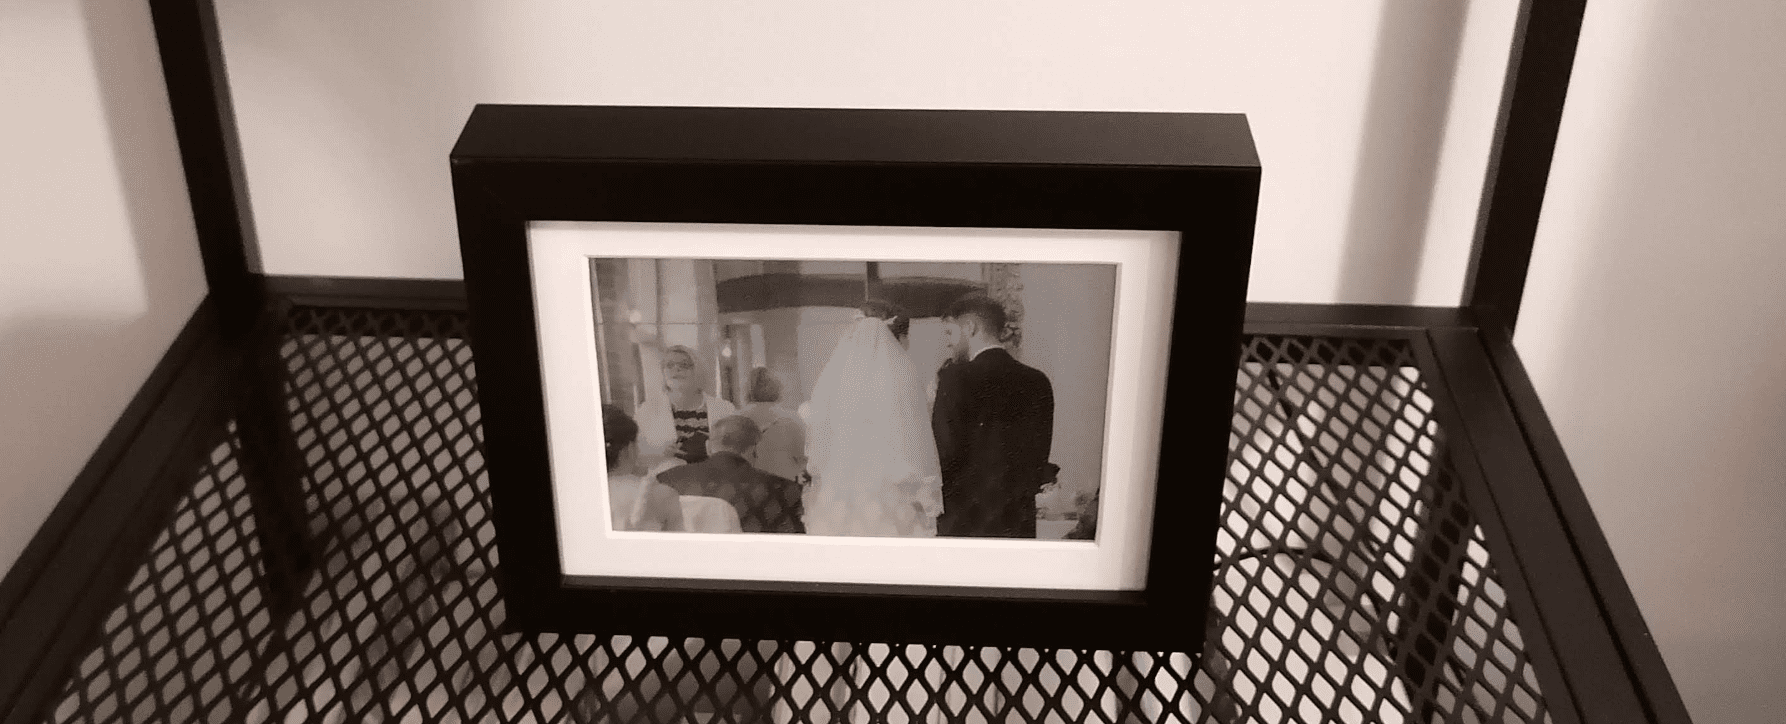
A typical movie is played at 24fps, in 16 million colours over a couple of hours. The very slow movie player will play a movie at 30 frames per hour in 2-colours over days, weeks, months. I'm not planning to sit back with my popcorn and actually watch a movie on this thing. Instead, think of it as an attempt to create something interesting enough to be displayed from some very compromised, low power hardware. I think that, mounted in a nice frame you could almost call it art. Imagine the legendary Jack Rabbit Slim scene from Pulp Fiction slowly being revealed over a couple of weeks - the uncomfortable silence literally lasting an entire day. Epic.
All code is available on my Github.
This has been the perfect lockdown project, cheap & dead easy to assemble with plenty of coding at a level far exceeding the comfort zone of my day job. Whilst digging out the pointer arithmetic or suffering through the horrendous C++ documentation that assumes you're Linus Torvalds, it's been great to be reminded just how much crap higher level platforms like Node & Java hide from us.
I currently have my very slow movie player set up in the office burning through my wedding video at (effectively) 60 frames per hour. By my maths that's a playtime of ~19 days. Here's the guts of it.
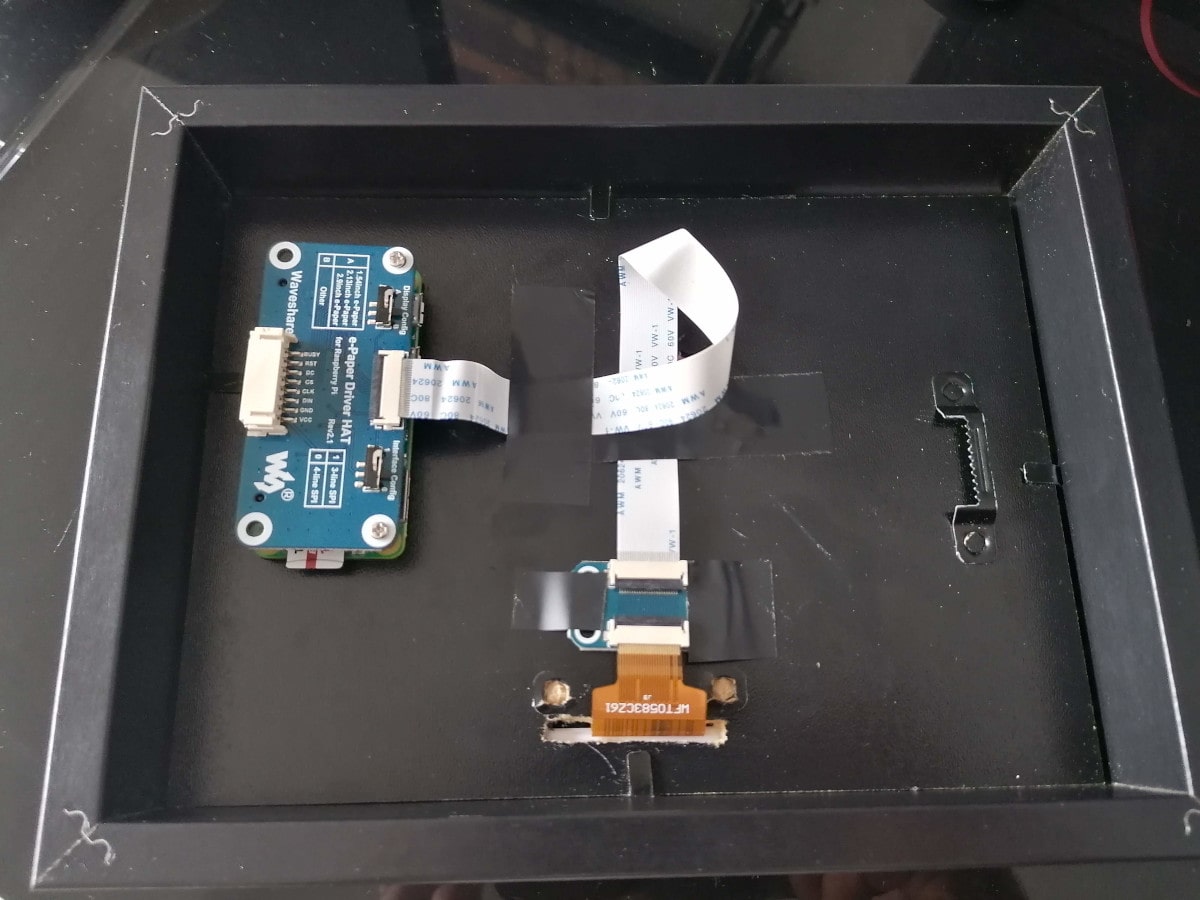
Certainly not pretty from behind then. I built it with.
Total project cost was ~£50.
The idea for this was based on an existing article by Tom Whitwell. My hardware implementation is almost identical except I wanted to go far cheaper. For software, I started looking at Tom's repository and whilst it provided a great starting point, I found it too slow to be usable on my ~20x slower Pi Zero! It seeks from the start of the video for every frame and I'm not convinced that it is actually stepping through frames one-by-one. I don't think there's a simple way of fixing this in Python as it would need a low level wrapper around ffmpeg with direct access to frame structs. You'd probably have to write an extension in C/C++ relegating Python to scripting duties (best place for it IMO), so may as well just go full C++ for such a small application.
The world of C++ standards is very difficult to follow, so I'll make it simple for you.
C++14 is the latest supported by the C++ compiler bundled with Debian Buster, which Raspbian is based on.
Don't waste your time writing C++17 like I did only to find it will not compile on the Pi.
If you're interested to know, switching from Python to calling libav natively in C++ is an order of magnitude faster!
Python is so slow.
The low level process is straight forward.
libavformat & libavcodec.
The application steps through each non-black frame one-by-one.
No seeking from the beginning each time and no trusting ffmpeg to find the right data packet containing the next frame.libswscale library for this, which is also from ffmpeg.Black & white e-paper displays have a 1-bit per pixel format i.e. each pixel is either on or off. There is no support for displaying grayscale images, which would require varying the brightness of each pixel.
If we were to naively down-sample video frames to 1bpp without dithering (i.e. intensity > 50% ? white : black) then the result would lose much of its apparent range of luminance.
Extreme banding artifacts would be present where pixel intensities are quantised into binary values without consideration for error i.e. two pixels with intensity values of 51% & 99% would be quantised into identical values.
Dithering algorithms work by reintroducing quantisation error across groups of neighbouring pixels back into the image.
This creates a noticable pattern in the image that effectively sacrifices resolution to increase the apparent range of luminance.
A decent general purpose algorithm for dithering images and the one I'm using here is Floyd Steinberg. This algorithm is a simple forward convolutional filter and very easy to implement from the pseudo code on Wikipedia.
This is best seen through example. Here's a nice (!) frame from my wedding video.
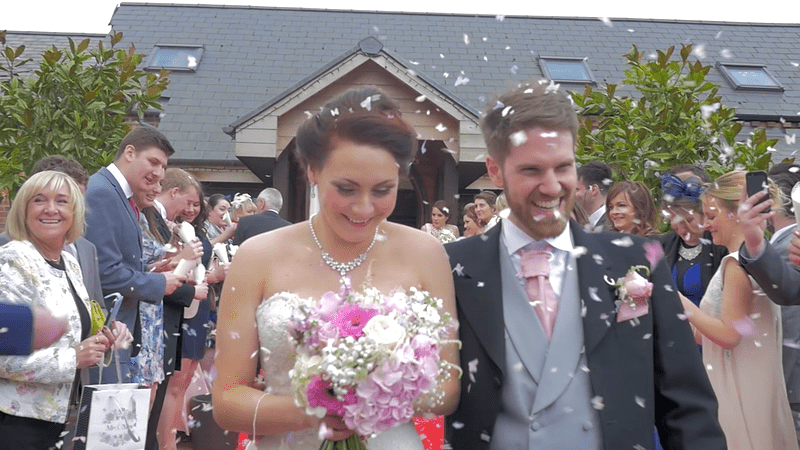
If we convert this to grayscale then it's still perfectly recognisable.
Taking the naive approach to 1bpp quantisation, we get this monstrosity.

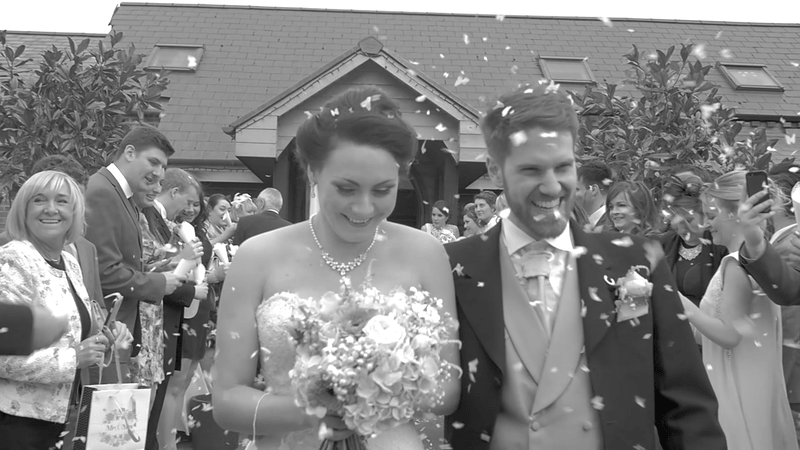
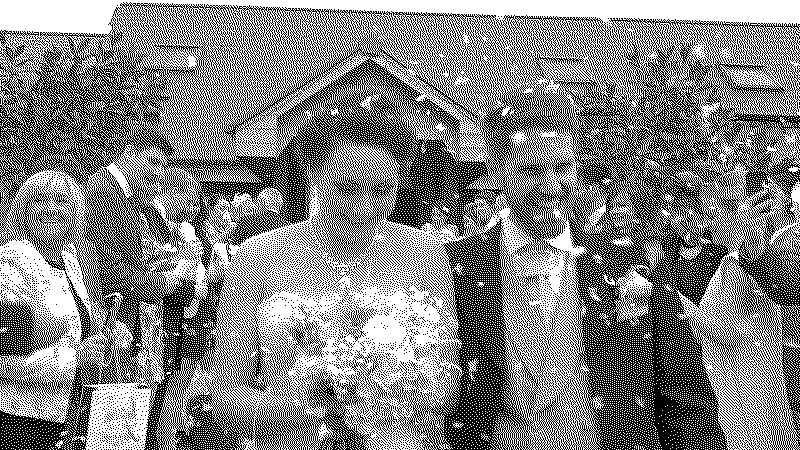
Finally, dithering to 1bpp with the Floyd Steinberg algorithm, the result is still compromised but significantly clearer - certainly less Halloween. Note that this image can look absolutely terrible when scaled, so just trust me if you're viewing it on a mobile device!
The Waveshare e-paper displays connect via SPI and three extra GPIO pins for reset, busy & data/command select signals. What really helped me pull the trigger on this project was their Github repository of examples. Thanks to this, once connected I was rewarded within 5 minutes (about how long it takes to compile on a Pi Zero!) with a test pattern on the screen.
The fun ended there and I was strongly reminded to never silently swallow an error. Error checking and reporting is very minimal in their examples and there's a lot of noise to wade through. An example was the use of the SPI chip select signal. When SPI is enabled on the Raspberry Pi, the SPI driver takes over it so you cannot manually control it like any other GPIO pin. The examples in this repository have SPI setup to control the chip select signal correctly, but then also attempt to manually write to it. They get away with this as they swallow all errors generated during GPIO operations. This slows the application down and means that when someone uses the example as documentation like I did, that person will question their ability to count, read and finally their sanity.
Also note that the examples default to using the WiringPi library as an SPI & GPIO driver but this is
deprecated and the Raspberry Pi foundation also recommend against libraries like this.
You should instead interact with the kernel directly via ioctl.
All of this fun along with my choice of C++ over C meant that I ended up completely reimplementing the e-paper display driver. That means that this project is coupled to the 7.5inch V2 model. Conversion wouldn't be horrendous, it'd just be a case of parsing the Waveshare example for your particular display model and reimplementing their signaling. From a cursory glance I cannot see any fundamental difference between any display model and mine that would make this impossible. Instead, differences seem to be data related e.g. one might send a different sequence of bytes during initialisation and any non 7-inch screens will expect a different sized data buffer.
First make sure the pi user account is in the gpio user group.
Install dependencies.
Clone and build.
Probably go and make a cup of tea.
Test the connection to the display.
On first run options.json is written to ~/.vsmp. Values are.
Note that e-paper displays are good for a finite number of screen refreshes before developing dead/stuck pixels so be conservative with how often you display new frames.
Change what you need and repeat until the test pattern only just fills the visible area of the screen.
Once you're happy, drop some .mp4 files in the configured movies directory and install with.
A new vsmp systemd service will be installed and enabled at boot. View service logs with.
Once you're all setup and running I strongly recommend that you follow a guide to limit SD card writes as much as possible. This is a good one, although I wouldn't go as far as to actually mount the filesystem read only as the app needs to write state to disc in order to keep track of progress.
Obviously you cannot write to a display but you can build and test movie handling, scaling & dithering. Required dependencies.